
On this blog, we explore a display cabinet restoration carried out by one of Gilly’s enthusiastic and loyal customers, Gayle.

Having been introduced to Gilly’s products by her sister, Gayle set her sights on a full restoration of a bow-fronted display cabinet. After discussing the best way forward with our support staff, Gayle embarked on the project, which would be using our 3-step waxing process, documenting her progress with photos and videos along the way.
The Cabinet had been sitting in a shed for around 15 years and when Gayle dragged it out, it was every bit the candidate for a full Gilly’s restoration. Covered in thick layers of dust, this poor piece of furniture was home for mud wasps, spiders and rodents.
Gayle carefully cleaned the cabinet then set to work dismantling. The delicate leadlight doors were removed, along with the feet and shelves, so that every square inch of the piece could be properly waxed.
After cleaning, the first step is always sanding of a neglected piece and in this case, lots of it. Two burn marks on the top of the cabinet needed some extra attention. As they were quite depressed, Gayle needed to take care not to sand to deeply over the marks to maintain the level surface. After sanding as far as she dared, she was able to remove the remains of the marks using household vinegar, which she left in place for 30 minutes, then wiped away with a damp cloth.

Prior to applying the waxes, any gaps larger than 1mm can be filled using our Beeswax Filler Sticks. Gayle made use of these to fill a few larger cracks in the cabinet.

Step 1 - Feeding the Timber
Then, the dry timber needs a good feed. Gayle chose our Restoring Polish, which is designed for dry, thirsty timber. The porous wood soaks up the nourishing wax, which prevents further cracking.
This can be applied with a soft brush or with a lint-free cloth. Any excess wax is then wiped away with another clean cloth and the finished buffed. This helps to warm the wax, assisting the penetration, along with helping the wax to dry. Before applying either the next coat of wax, the surface needs to be smooth and dry to the touch.
Step 2 - Building the Finish (and filling any fine cracks)
Then, the Cabinet Makers Wax, which is firmer than the soft Restoring Polish and is designed to create a robust layer of protective wax, along with filling any hairline cracks and crevices that have been the result of the timber drying over time.

Step 3 - The Protective Sheen
Finally, the icing on the cake; the Carnauba Polish. This polish is a very soft and easy to apply creamy beeswax-based product. It is hard to believe that something so soft could dry so hard and buff to a sheen. Very rich in waxes, particularly carnauba wax flakes, our Carnauba Polish is very popular with antique restorers as it preserves and enhances French polished Furniture.


The cabinet feet before and after Gilly's 3 Step Waxing
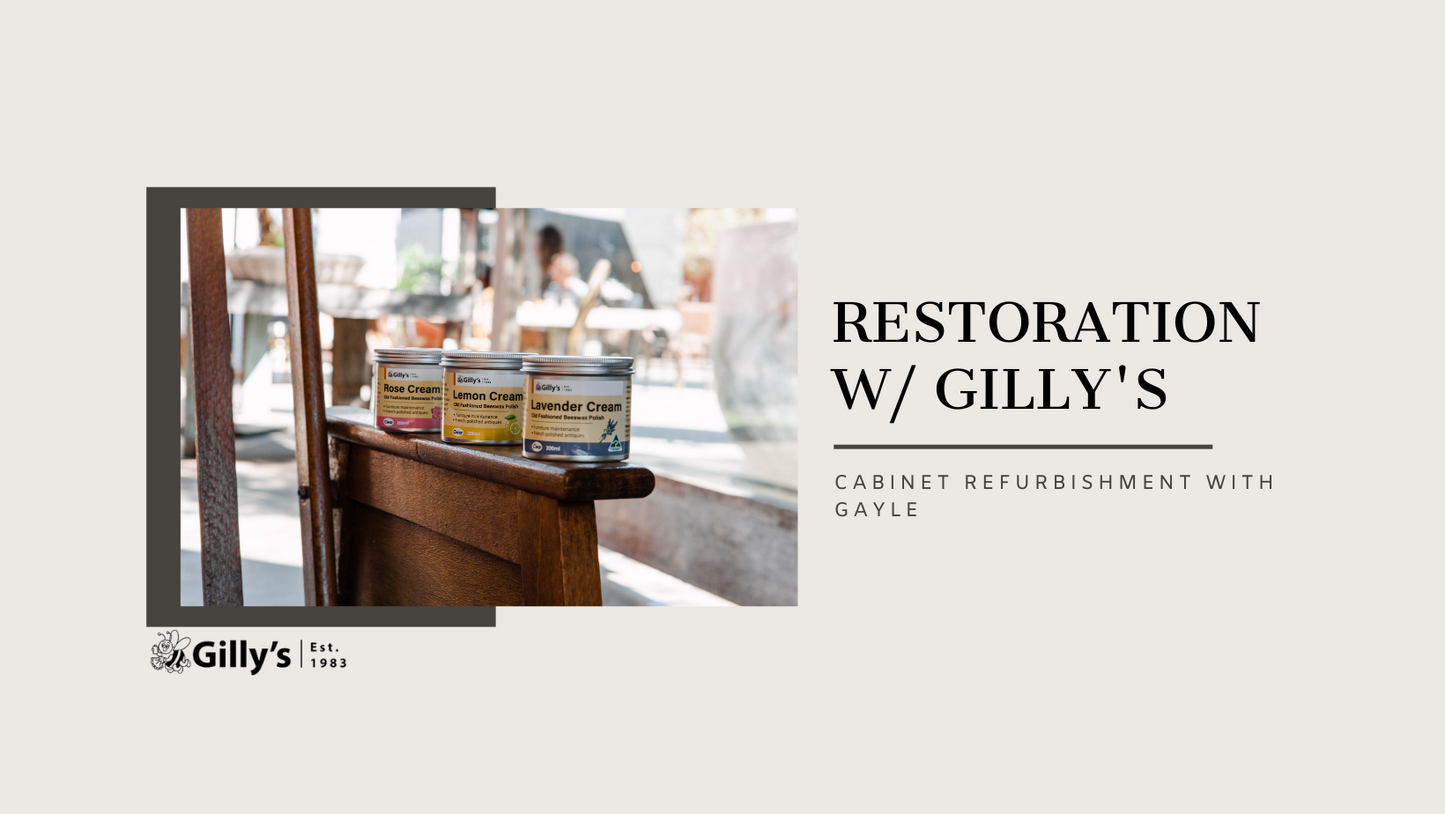
Gayle also purchased our Lavender Cream Polish, for use on the cabinet in future. Waxes are natural and therefore over time do deplete and become a little dull. This is very easily remedied with a quarterly maintenance polish – a quick and easy job that fills the room with the scent of Lavender, Lemon or Rose.

We hope you might get some inspiration from this project and maybe even try a full restoration for yourself! It really isn’t difficult; it just requires some patience and attention to detail. The reward, as is evident from these photos, is tremendous.
Gayle had this to say: "I sought advice from Gilly's support, who are extremely helpful. I could not have pictured a better outcome. The cabinet looks amazing like brand new. Love the smell that comes from the waxes & lavender polish. I have another cabinet to do I will have no hesitation using Gilly's wax & polishes again. Love the effect it has on timber, bringing out its natural true self."
And Gilly’s is here to help every step of the way. Our support team is available Monday to Friday 10am to 6pm AEST on 08 9295 1973 or via email on support@gillysaustralia.com.au