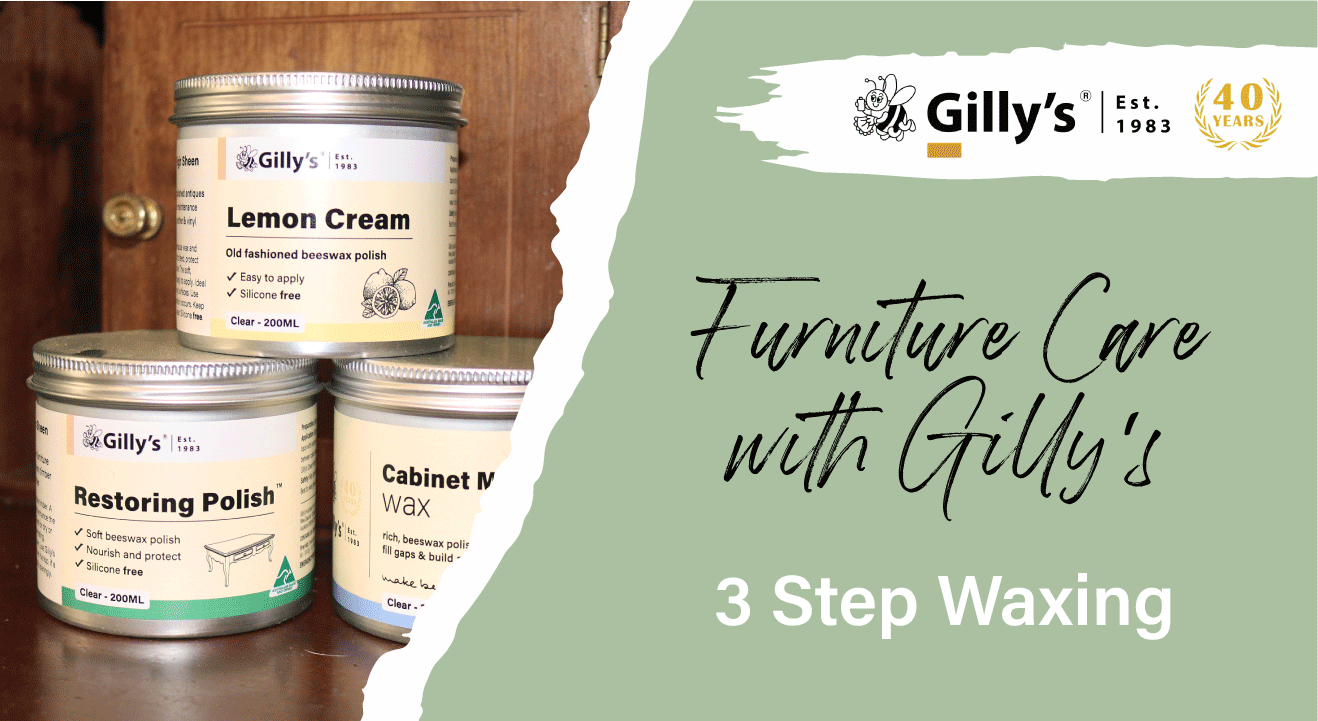
Waxing is a superb way to preserve and enhance the beauty of timber. Whilst it does require a little care and patience to apply in the first instance, it is easy to maintain and repair if needed. Gilly's range of waxes are designed to make this process as easy as possible.
A correctly waxed surface is even in all lighting conditions, is silky smooth and dry to the touch. The finish will be transparent and the depth of the timber detail clear.
Because 'a little goes a long way' applies to all of our quality products, probably the most common mistake is over-waxing.
5 Signs of over-application of wax
- Sticky or tacky finish after a day or two drying
- Thick of uneven/lumpy finish that won't buff to a sheen
- Cloudy areas in varied lighting scenarios
- Dull looking surface
- The wax remains soft (objects placed on the waxed surface leave marks or fingerprints can be see) or appears grey or patchy
There are occasions where uneven coverage can occur. Sometimes, when a varnish/lacquer has been sanded back, there may still be areas in the grain where the varnish remains and frustratingly, the dry sanded surface may appear completely lacquer free!
If an oil such as tung or linseed has been applied before on the timber and not allowed to harden/cure properly, the oil can bleed back out and prevent the wax from hardening. Before re-waxing, make sure the oil has properly cured.
Removing the extra wax
Dampen a cloth with solvent (most people have on hand a bottle of mineral turpentine – low odour is nicer) and wipe over the waxed area. Our LoThin is a safer thinner as it is low VOC, for the application of oils and waxes, as well as cleanup & surface prep.
If the wax build-up is very thick, you may need to leave the solvent to soak in before attempting removal. This will soften the excess wax so that you can remove it with a clean cloth/rag (old t-shirts are perfect for this). Because the solvent does evaporate fairly quickly, it's a good idea to work on no more than one square metre at a time.
Once you have removed all of the excess wax, leave the piece overnight. You may only need to re-apply one coat of wax at this point or even in the areas where the timber is dull and dry. Chances are the original wax will have penetrated nicely. Buff each coat of wax before applying the next.
Waxing correctly - 3 steps to a beautiful waxed finish

Pictured: A jarrah secretary desk restored by Kate from House of Hollingsworth - using Gilly's 3 step waxing process (more on this project in next month's blog).
Preparation
The timber needs to be clean and dry. A useful trick is to wipe a solution of methylated spirits (with 5% acetic acid). This will neutralise any stripper if you used this prior to sanding and it will also show up any imperfections that require further sanding. Ensure this is thoroughly dry before proceeding with the wax.
Alternatively, you can use our LoThin to remove any grime and dirt before waxing.
- Nourish - To begin with, raw timber is often dry and thirsty. Without the natural sap/oils that would normally keep the wood supple in life, it is vulnerable to cracking and splitting. We can substitute this with a wax (or oil) that penetrates deeply. Our Restoring Polish is designed for this purpose.
- Build - In many cases, there are still tiny cracks and crevices that a soft wax will not fill. This is where a firmer wax such as our Cabinet Makers Wax is ideal. Often applied with superfine steel wool, this can be driven into any small gaps to create an amazing, hard and smooth finish. Burnishing can impart an excellent sheen.
- Finish - The best way to protect and maintain the waxed finish is using Gilly's Carnauba Polish or Cream Polish. These are very soft and easy to apply, both buffing to a beautiful sheen.
Always use mats and coasters to preserve your waxed finish. Avoid allowing water to pool on the surface as it can penetrate the wax and leave pale patches. They are quite easy to remove if you follow these steps:
Place a white or pale face-cloth/tea towel over the marks and hold a clothing iron over the fabric briefly, checking frequently. Don't use the steam function. This effectively draws up the moisture into the fabric. Obviously, you need to be careful not to hold the iron over the patch for too long at a time and check frequently. The marks can disappear in 5-10 seconds.
