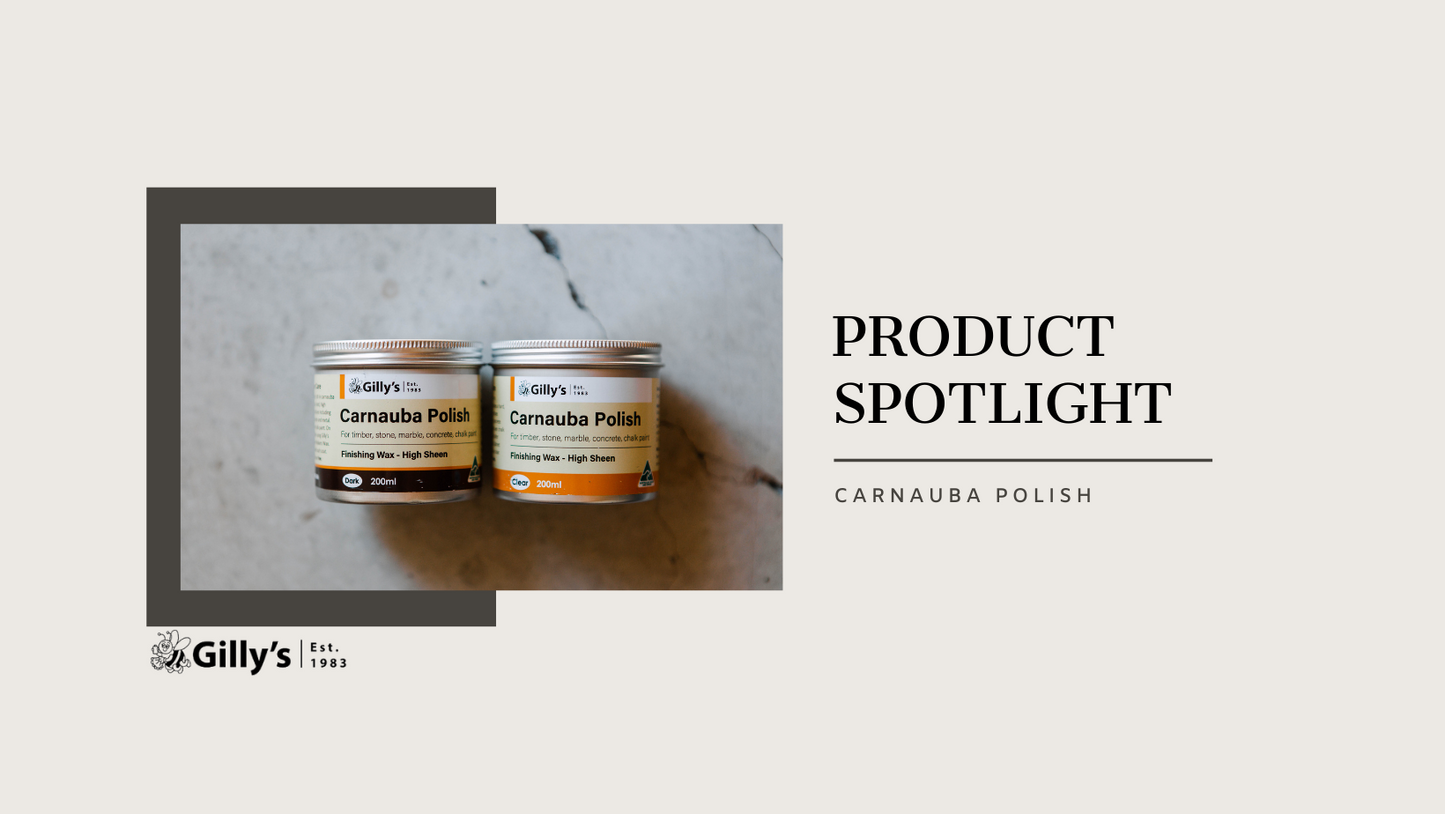
Carnauba Polish – High Sheen Finishing Polish
Our soft and easy to apply Carnauba Polish is so named because the blend of rich ingredients includes a large proportion of natural carnauba wax flakes. We recommend it as a finishing polish on a variety of surfaces.
Carnauba wax flakes are popular as a furniture and car polish ingredient as they allow the finish to be buffed to a very high sheen. In case you're interested, we do sell these for DIY purposes (Gilly's Carnauba Wax Flakes).
These flakes are harvested from the Copernicia Cerifea palm, a native to the dry forest areas of North-eastern Brazil. The leaves produce a resin to protect themselves from the harsh sun during the drier times of year. To harvest, the fronds (leaves) are selectively removed from the trees and left to dry in the sun, shrinking them so that the wax is easier to scrape off. The entire process is done by hand.

Carnauba Palms - courtesy of Otávio Nogueira
Gilly’s Carnauba Polish is amazingly versatile; here are some of the ways it can be used:
- Seal and polish finely sanded concrete. It is applicable to both concrete walls and floors
- Use over our Floor Polish, to impart a beautiful, high sheen with extra protection
- Can be used on metal sculptures to protect from scratches and oxidisation
- Perfect as a maintenance wax for French-polished furniture
- Seal and protect chalk-painted finishes
- Ideal to apply on metal surfaces of woodworking machinery to reduce friction and rust
- Used as a protective finish for Venetian plaster
- Seal and protect acrylic resin
- Polish and seal granite and marble surfaces
- Can be used effectively on a lathe for turned timber pieces
- Yes, we’ve even used it on our cars
Carnauba Polish, like all of Gilly’s range, is a stand-alone product. However, it can be used very effectively as part of our Three Step Waxing Process (below), on raw/stripped timber.
Gilly's 3-step Restoration Process - for a beautiful natural waxed finishYour prized piece of furniture has been stripped, sanded and is now ready for the waxes.
Our 3-step process involves firstly feeding the dry, stripped timber with our rich, nourishing Restoring Polish. Secondly, we use our firmer Cabinet Makers Wax, which starts to build a finish. Perfect for filling in hairline cracks and other imperfections in the timber, you will end up with a super-smooth finish, which enhances the beauty of the timber's grain. Finally, using our Carnauba Polish, which is rich in carnauba wax flakes (the hardest known plant-based wax) you can polish up to an excellent hard, high sheen.
Step 1 - Application of Restoring Polish. This is very soft and easy to apply. Scoop out a small quantity from the tin using a clean, lint-free cloth. Spread sparingly over the dry timber then polish back in a circular motion removing any excess wax as you go (best done with another clean cloth - something like an old cotton t-shirt is ideal). This product will polish to a soft, satin sheen and make the timber look a little darker (much as it would if the timber were wet). Where applicable, you can use a little more on the end-grain of the timber, being a more absorbent part of the timber. If your finger makes a print in the surface, you have used too much and need to wipe the excess away.
Step 2 - Application of Cabinet Makers Wax. This requires a little more effort as it is a firmer wax. Traditionally, this is applied using superfine steel wool (0000) because this is an excellent way to drive the wax into tiny cracks and crevices in the timber. However, you can just use a clean cloth (as with step 1) if you prefer. This is best applied in long swipes, with the grain of the timber. Again, polish back with a clean cloth or t-shirt. This stage can be repeated up to three times, to build a thicker finish but make sure the wax is nice and dry (no fingerprints) before you attempt second and third applications.
Step 3 - Application of Carnauba Polish. This is the fun part, a bit like icing the cake. Our Carnauba Polish is soft, light and easy to use. Dip a clean, lint-free cloth and spread sparingly over the surface, not more than one square metre at a time, in a circular motion. This can be done by hand or using buffing pads. Enjoy the sweet, spicy fragrance as you polish. Take care not to over-apply as this can prevent the wax from hardening as it should. It can be left for 20-30 minutes between coats, depending on ambient conditions. In warmer, drier weather, the wax will harden more quickly. Gilly’s Cream Polish can also be used for Step 3 in place of our Carnauba Polish.
When done correctly, this final stage will feel smooth to the touch with absolutely no trace of cloudiness or fingerprints.
We’d love to hear from you if you have any new and different ways you use our Carnauba Polish, so that we can share them!


How do I apply Canauba polish to my concrete floor so that I can have it looking shiny again?
Hi, just wondering if the wax can be used on polymer clay jewellery in the same way as renaissance wax? I’d rather but Australian if I can. Thanks