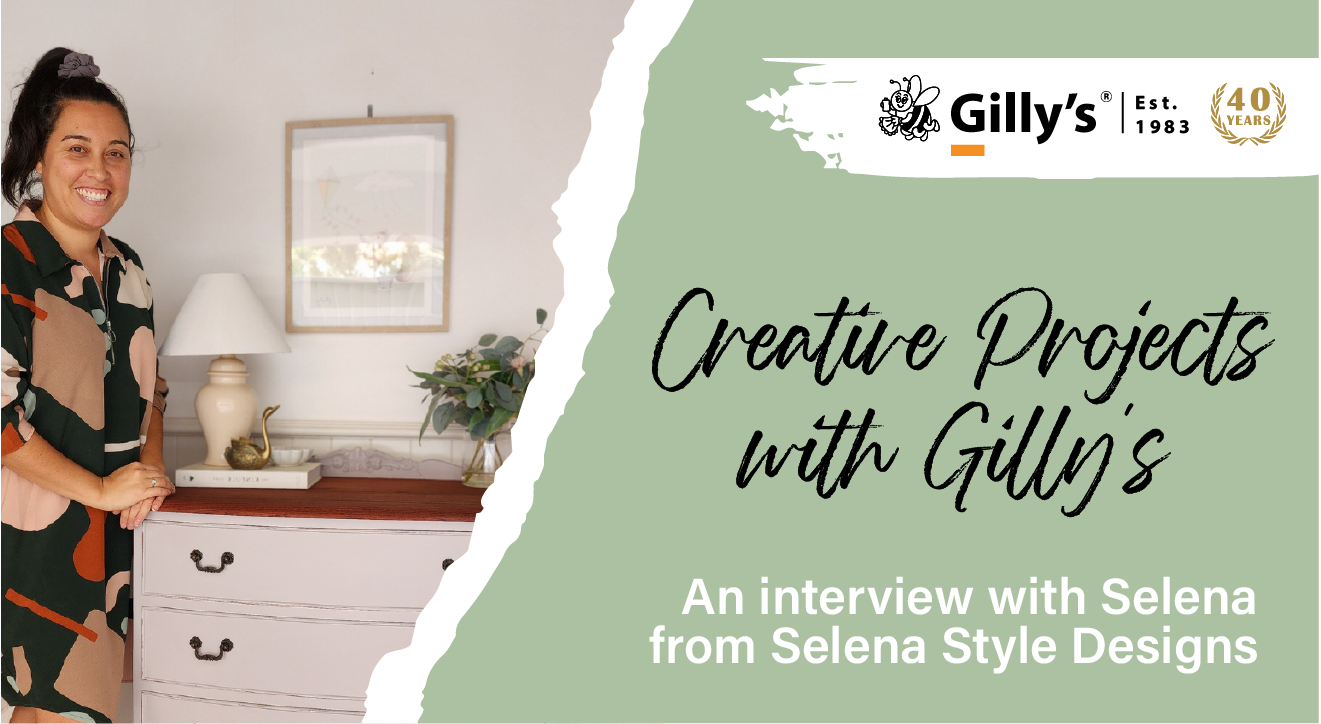
Please tell us a little about you and your business, (inspirations, ethos – whatever you would like to share). We’d love to hear about how long you’ve been involved with what you’re doing and what inspired you to take this career path and when.

In my years of working as an interior designer and stylist, one of my major challenges was finding good quality furniture that was both affordable and stylish.
For many of my clients, balancing their vision for their home with the budget was a constant struggle, and the choice was often between choosing affordable furniture that lacked charm, or spending more than what they’d hoped.
I've always been a DIYer and maker at heart, and loved upcycled furniture for my own home, so I thought, why not give this a go for my clients?
I found in painting and refinishing furniture I had endless possibilities in the looks and colours that I could create. In 2020 I went from offering upcycled furniture to my clients to selling it on Facebook marketplace, along with sharing my process on YouTube and launching an online store selling decorative knobs and hardware.
Is there any particular product you prefer to work with and if so, could you explain why?
I love using wax to seal my chalk painted furniture and help the timber drawers slide out more easily. Gilly's Cabinet Makers Wax has been my go-to product for years. Easy to apply, it allows any painted colour to stay true. With a smooth and buttery finish it protects all my furniture pieces against everyday use.
How long have you been using Gilly’s products and how did you first come across them?
I first started using Gilly's wax years ago when I needed a better sealer for my own up-cycled furniture. I had originally used poly sealers but found they yellowed over time and gave off too much sheen, so wax was a much better solution. Being able to buy this wax from any Bunnings meant that it was always accessible.
Could you tell us about what you are working on right now and give us a step by step guide on how you are making it. How you are using the particular Gilly’s product(s) that you have chosen for the project? Please feel free to include other manufacturer’s products that you use in the process. We love to hear about different techniques.
I found this cute vintage dresser at my local Salvos thrift store in Tempe and knew it would be a great piece to makeover. I wanted to create a fun nursery look, so I selected Annie Sloan's chalk paint in Paloma, a soft & soothing lilac/pink shade.

When I can, I always love showcasing the natural timber & highlighting the original features of a furniture piece. This cedar dresser was the perfect piece to give a two toned look; exposed timber top and painted body with the original hardware to be kept and slight distressing highlights to be added.
Here are the steps to create this look:
Step 1 : First I removed the top timber moulding detail, then using my orbital sander I sanded back the varnish with an 80 grit sanding pad, then move to a 120 grit and then finished on a 180 grit.

Step 2 : To protect & highlight the natural cedar grains I used Fusion Mineral's Hemp Oil. While this dries I scuff sand all the drawers and dresser with a 120 grit sanding pad. Then, I give all of these a good clean using sugar soap.

Step 3 : With the prep & cleaning all done we can move onto the fun part; painting! The first coat always looks worse than it is, but once you get to the second and third coat you'll see brush marks disappear and the true colour become visible.
Tip - Chalk paint has a thick consistency so to reduce brush marks, make sure not to overload your paint brush with too much paint and apply light pressure when brushing. When you get to the second and third coat, scuff sand in-between coats & mist some water over the top of the surface, then paint. This will evenly disperse the paint and reduce brush marks.

Step 4 : To give depth and character to this dresser, use a 240 grit sanding pad. Slightly distress the sides of the drawers, the base of the feet and the top moulding detail.
Step 5 : With all the surfaces now painted we can move to sealing the chalk finish. Using Gilly's Cabinet Makers Wax you wipe, or brush on the wax into the surface. Moving in a circular motion first, then horizontally and vertically. Then using a lint free cloth, wipe off any excess.
Chalk paint is porous, so you want to ensure wax gets into all areas, so using this technique will ensure great coverage and protection.

Step 6 : Reattach the now painted top timber moulding detail and style your piece.

Watch the video here:
You can find and follow Selena on Instagram and at her website